
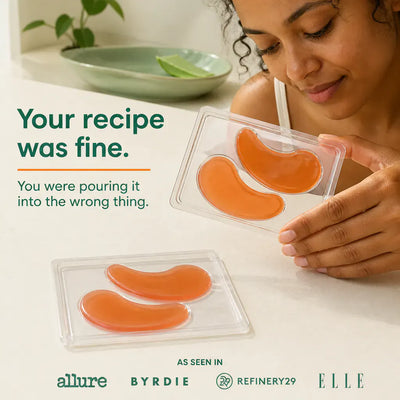

Your recipe was fine. You were pouring it into the wrong thing.
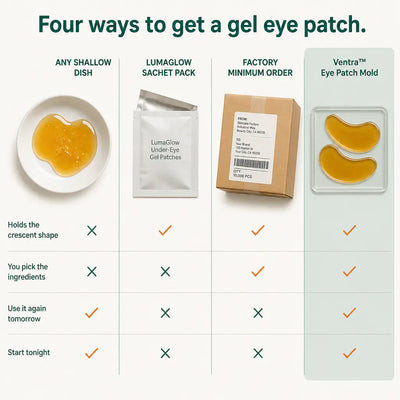
Pour your own gel, chill it, peel out a patch that looks like the ones you have been paying for. Three kitchen ingredients, we send you the method.
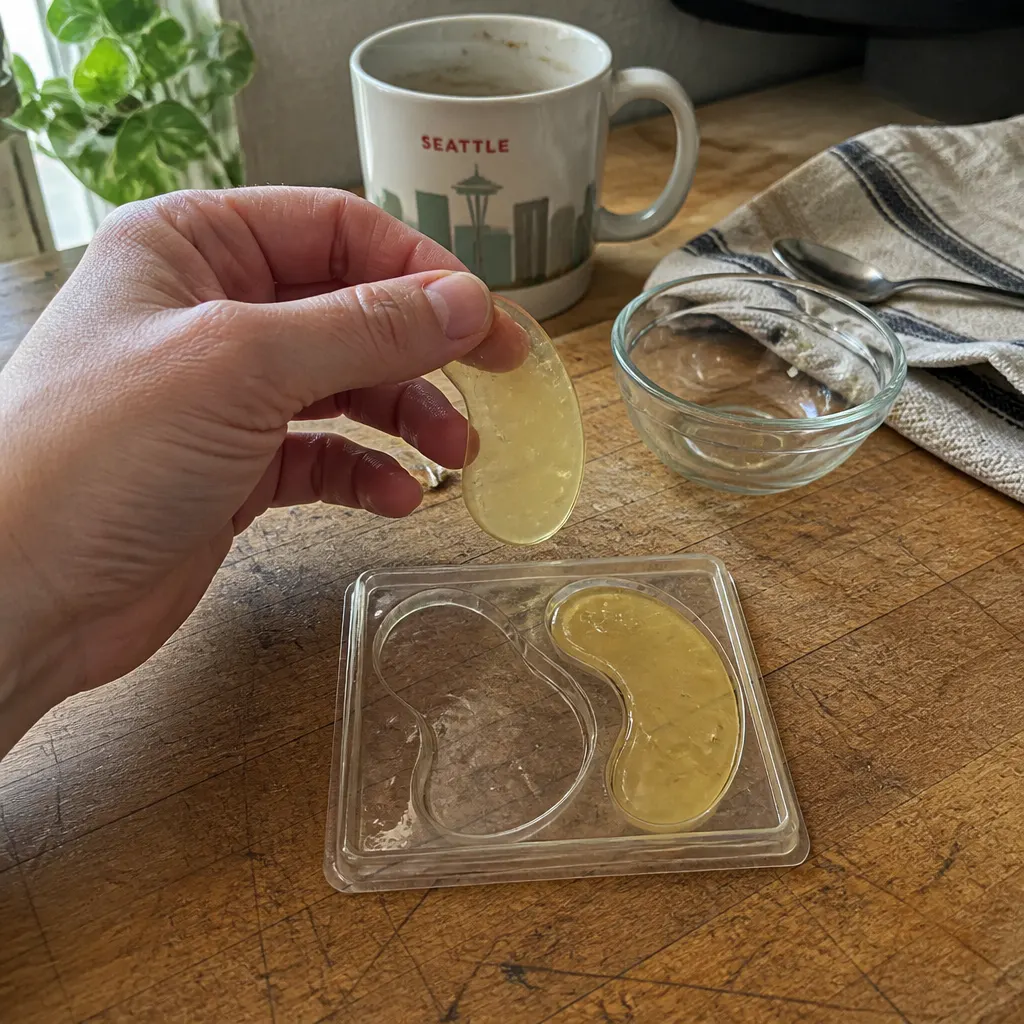
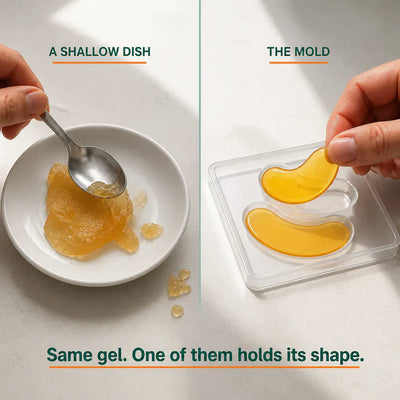
Same gel. One comes out as a slab. One comes out as a patch.
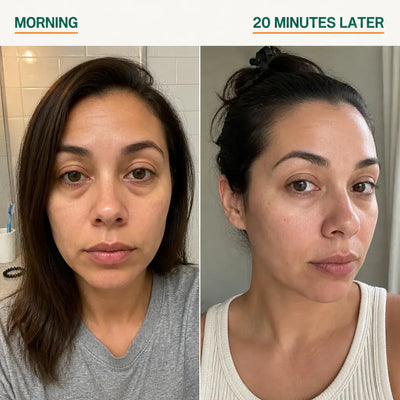
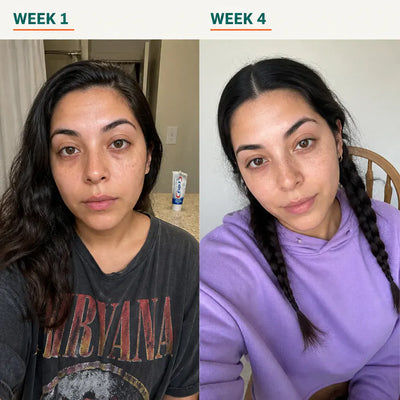
The left half of every photo is gel set in a shallow dish and scraped out with a spoon. The right half is the exact same mixture set in the crescent cavities and peeled out clean.
 Before
AfterFirst batch, 45 min in the fridge
Before
AfterFirst batch, 45 min in the fridgeEasy to unmold and the price can't be beat!
Renata
 Before
AfterSecond try, chilled 2 hours
Before
AfterSecond try, chilled 2 hoursFirst attempt I used a dish and got jelly. This time it lifted out in one piece and held its shape all the way to my face.
Priya
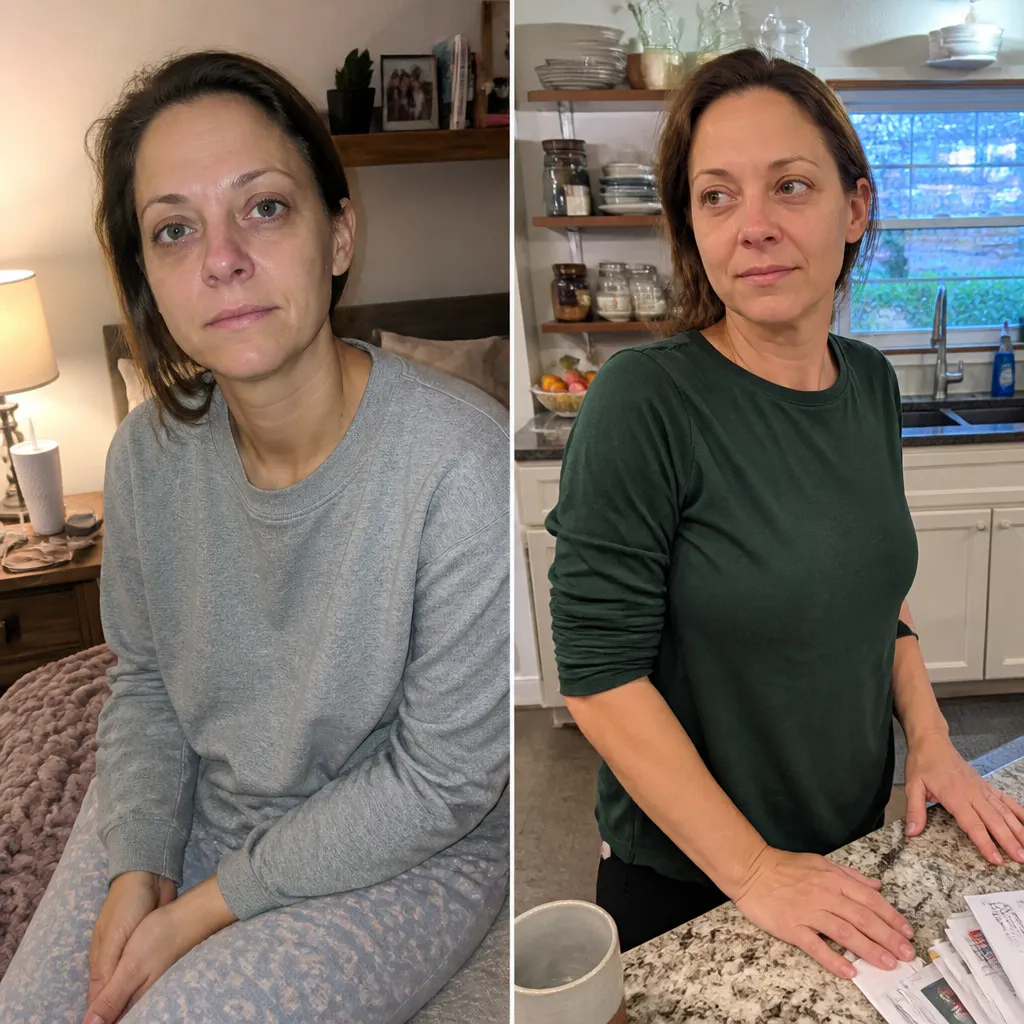 Before
AfterBatch three, coffee and gelatin, 30 min
Before
AfterBatch three, coffee and gelatin, 30 minCold brew and gelatin. They come out the same shape every single time now.
Danielle
 Before
AfterFourth batch, overnight in the fridge
Before
AfterFourth batch, overnight in the fridgeThe edges are what got me. It actually looks like the ones I used to buy.
Marta
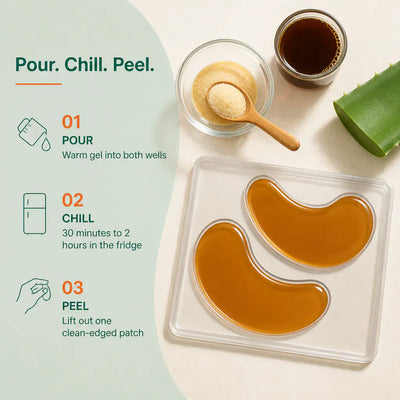
Pour it, chill it, peel it. That is the entire skill.
The internet already handed you a dozen recipes and then said pour it into any shallow dish. Here is the version that ends with an actual patch, plus a starter recipe you can make this weekend.
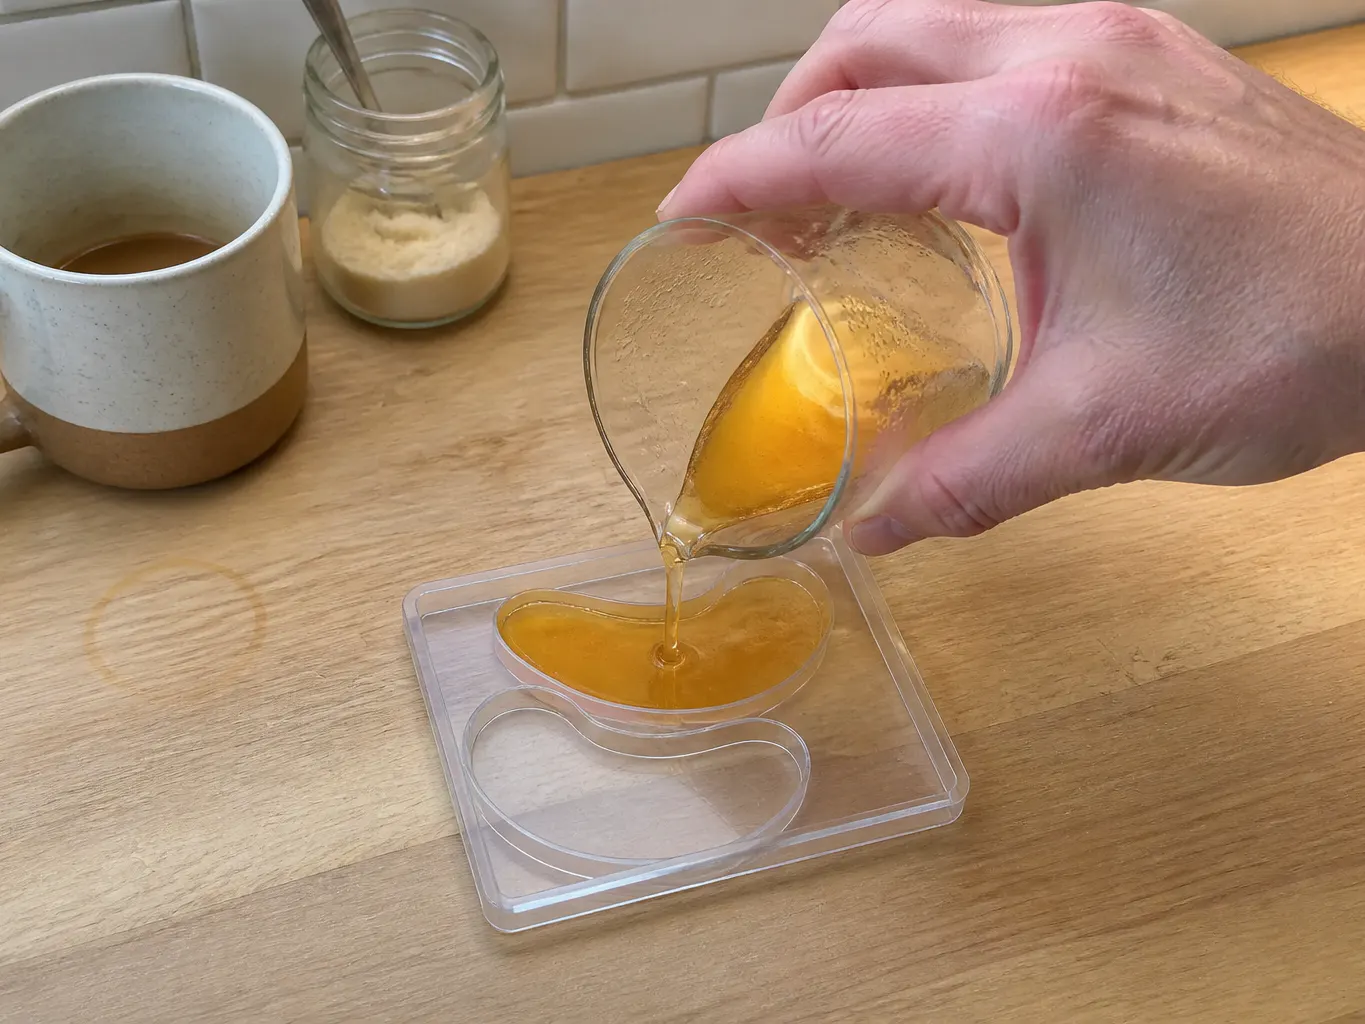
Pour
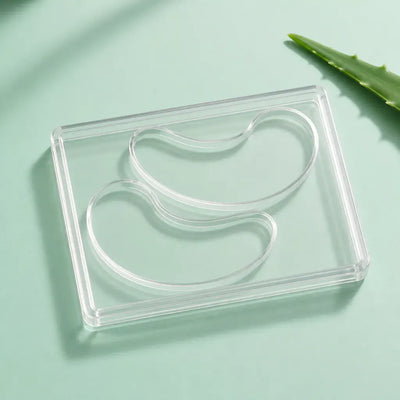
Warm your gel mixture on the stove until it is fully dissolved and runs clear, then fill both crescent cavities level with the rim. Take it slowly at the tapered ends so the gel reaches into the points.
Fill level with the rim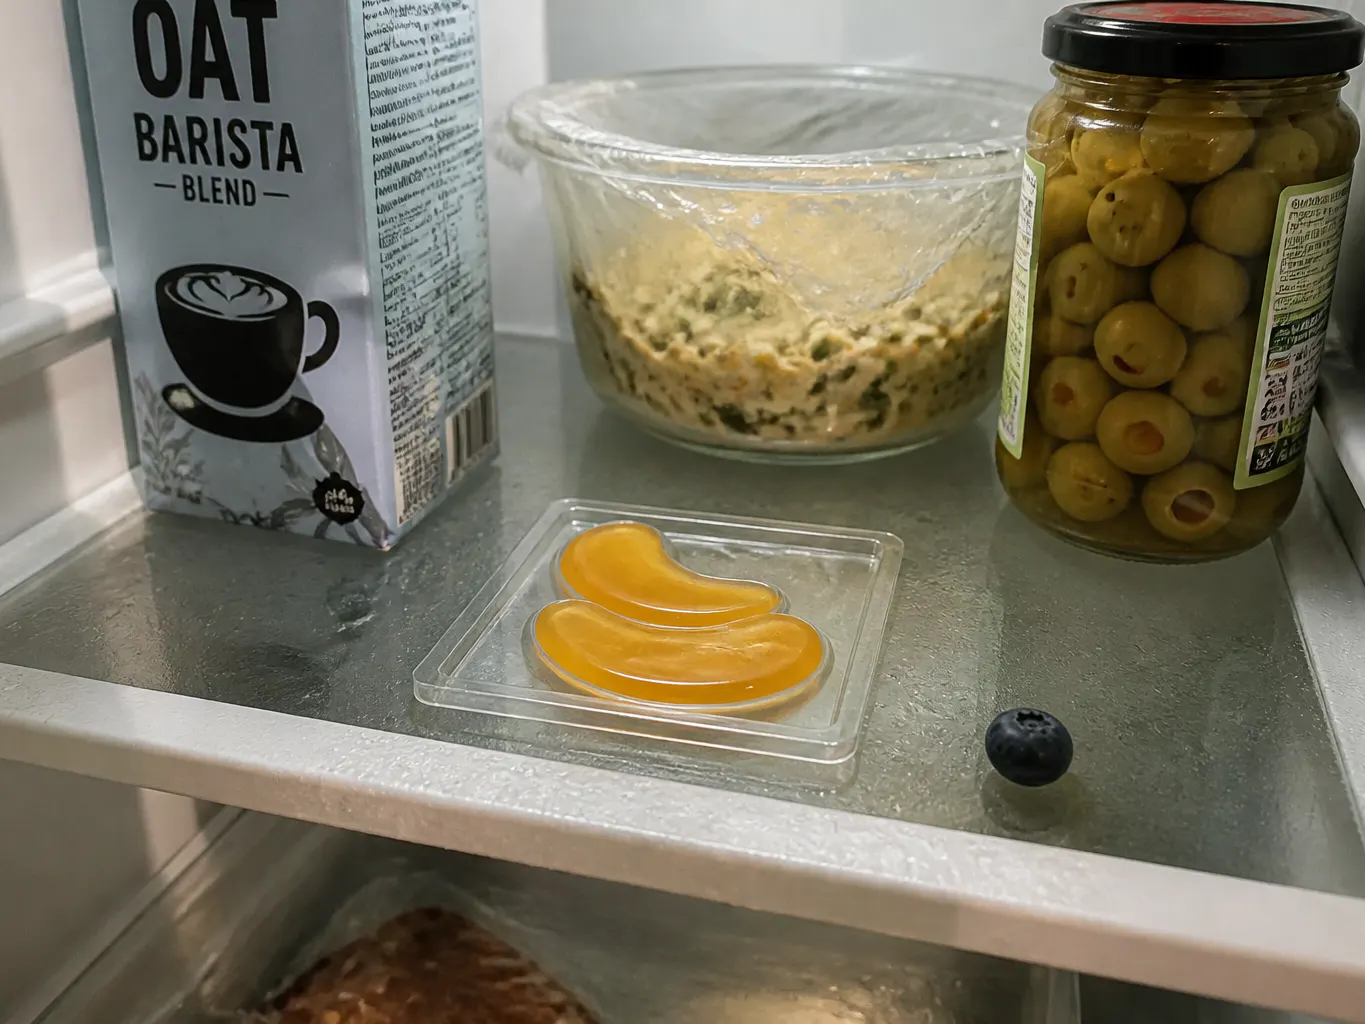
Chill
Slide the tray flat onto a fridge shelf and leave it for thirty minutes to two hours until the gel is firm all the way through. Because the tray is clear you can see the set from underneath instead of guessing.
30 minutes to 2 hours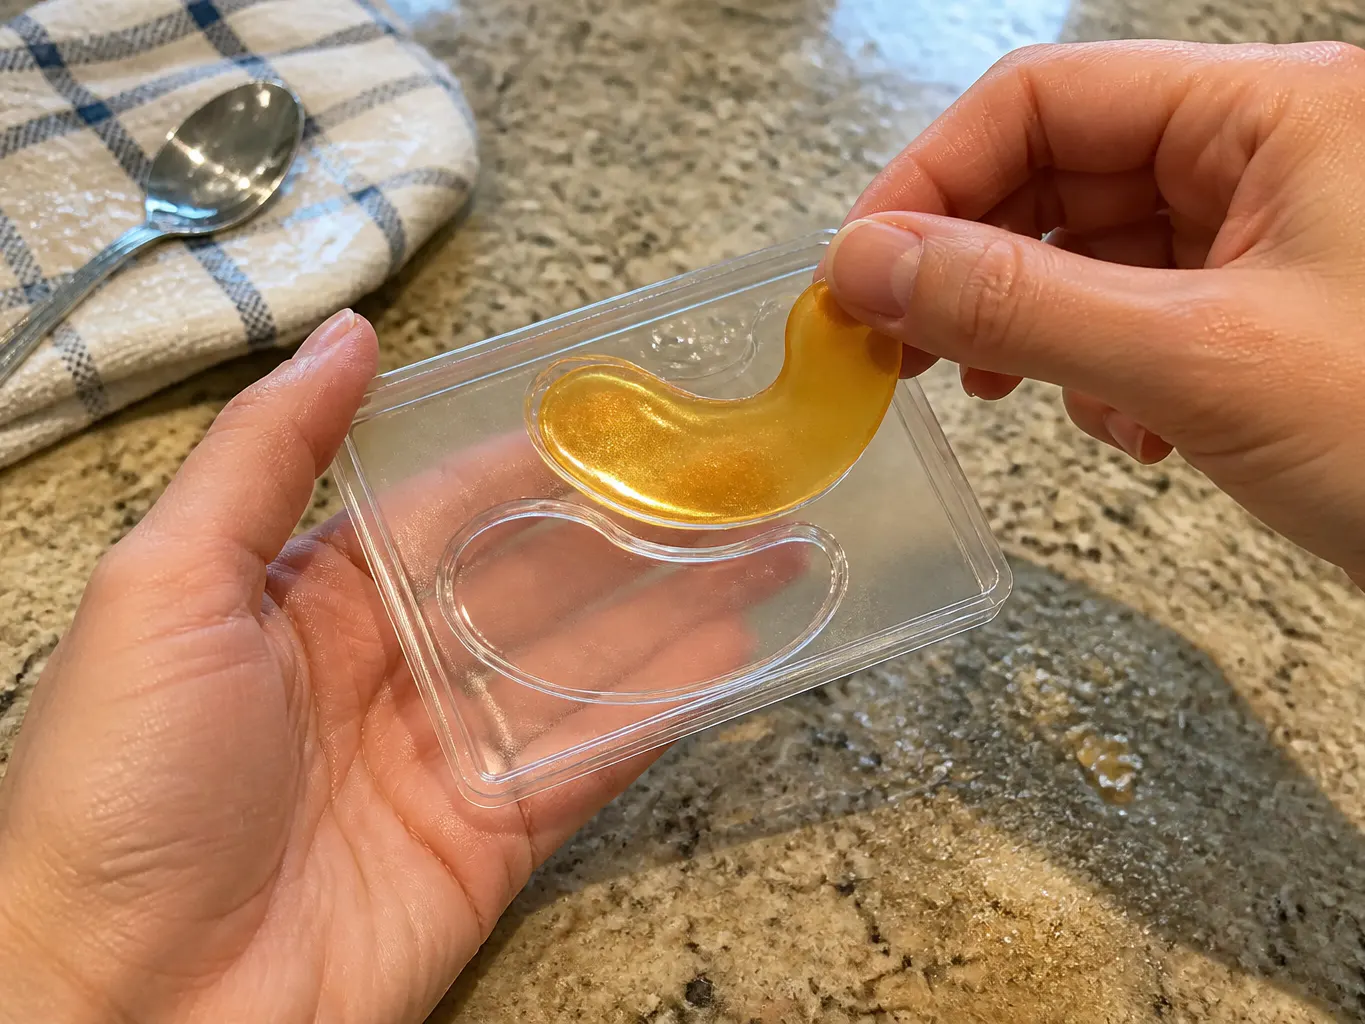
Peel
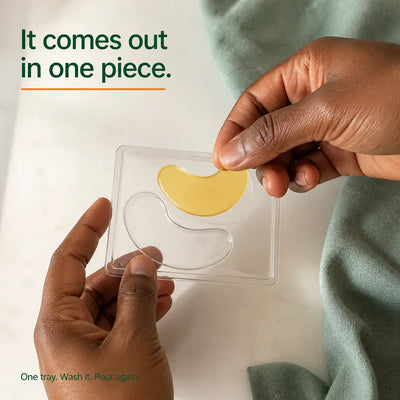
Press gently under one tapered end and lift. A properly set patch releases in one piece with the crescent edge intact, ready to go straight under your eye.
Lift from the tapered edgeThree things you probably already own
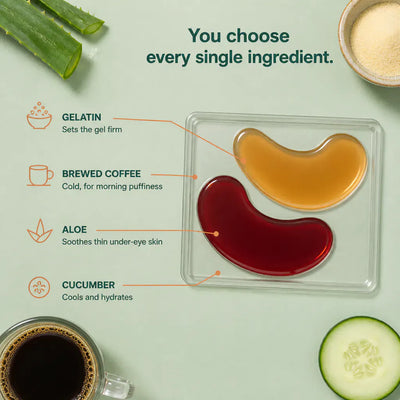
- A gelling agent. Plain gelatin is the one most home makers reach for because it sets firm and releases clean.
- Your liquid. Water, brewed coffee that has cooled, or aloe. This is the part you choose and the part your skin actually reacts to.
- A little glycerin. It keeps the finished patch supple rather than rubbery so it sits flat against the skin.
Warm them together and stir until the mixture runs completely clear, then pour. No lab, no special equipment, one saucepan and a fridge. You pick every single ingredient that goes in.
Real kitchens. Real fridges. Real peel-outs.
Watch the whole thing happen on somebody else's counter first. The pour, the fridge door, the lift, the patch going on.
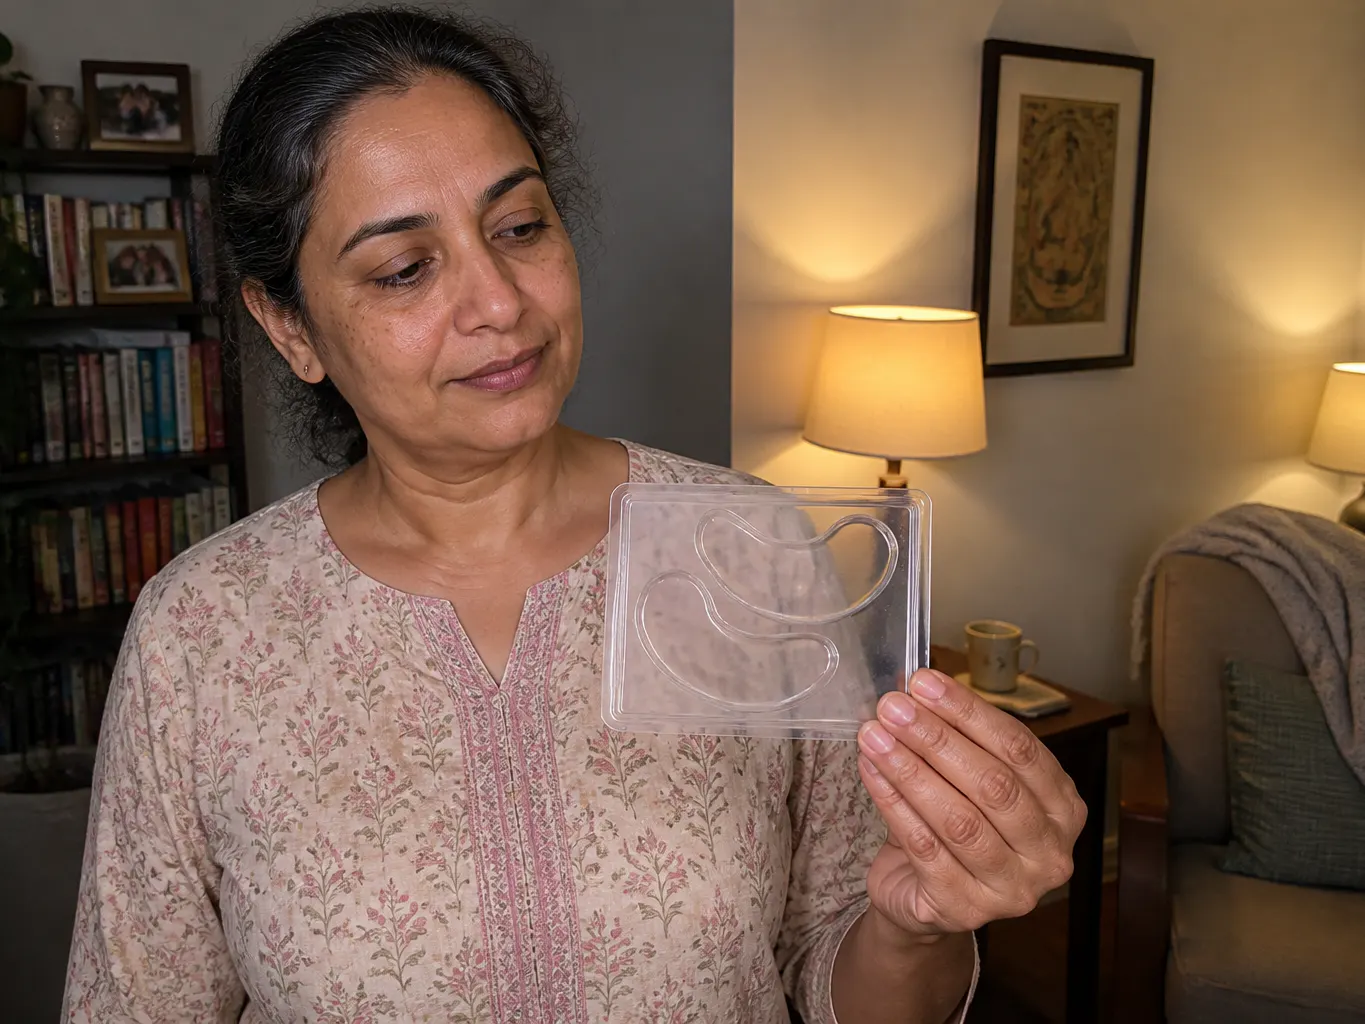
Three batches in and the tray still looks new.
Priya
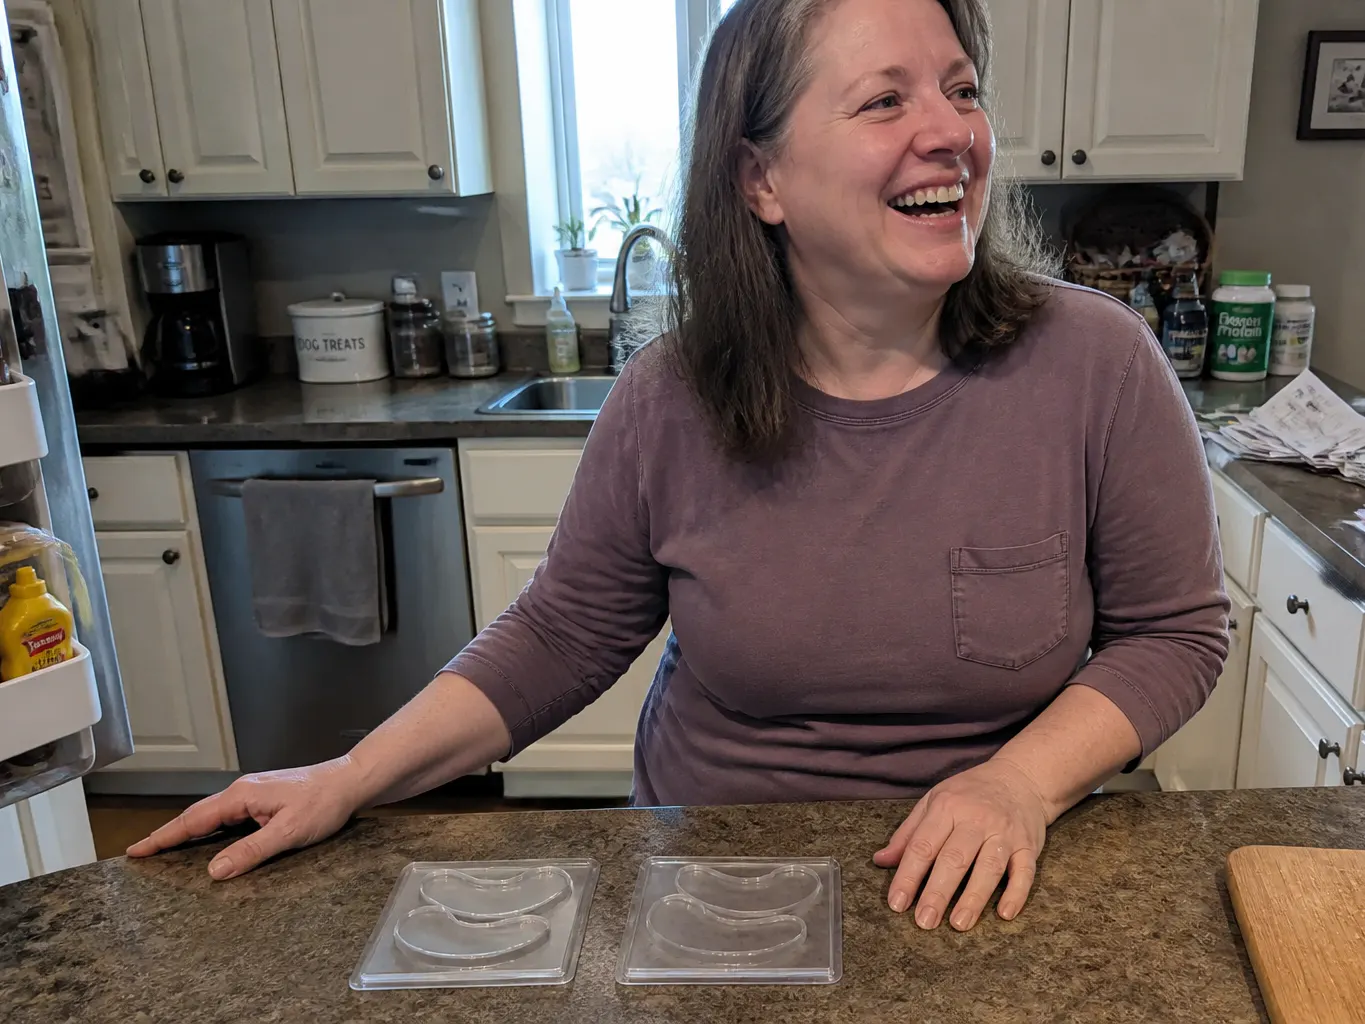
I know every single thing in these now.
Tomás
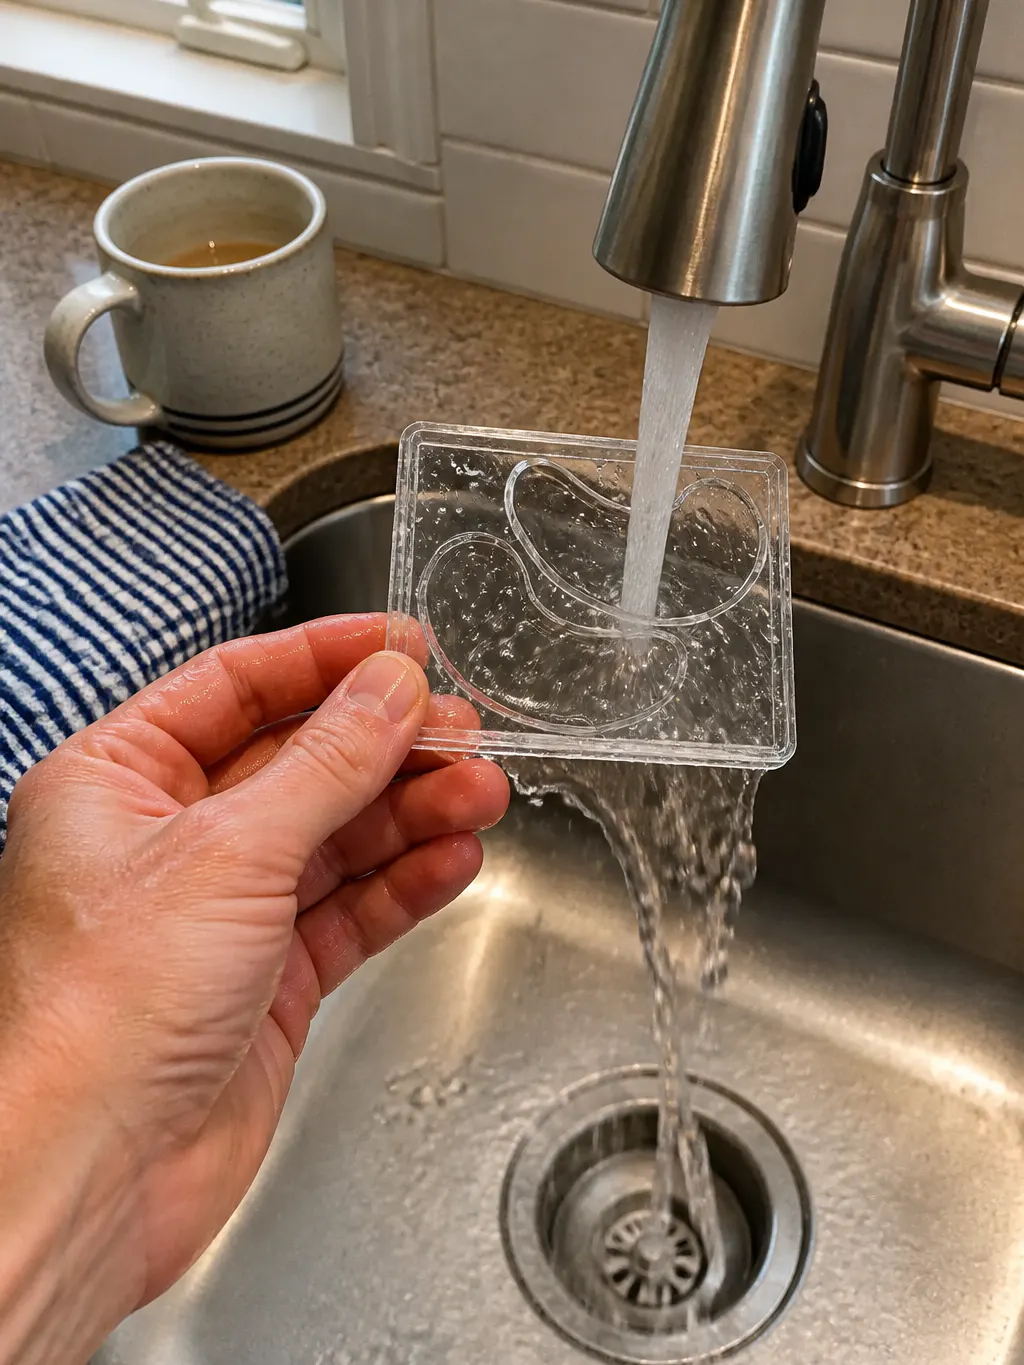
Homemade near your eyes is only as clean as your tray.
This is the same routine home formulators already keep. It takes about a minute and it is the whole difference between a good habit and a risky one.
- Wash before and after every batch. Warm soapy water, a rinse, then dry it properly before you pour anything in.
- Keep it cosmetics-only. Once a tray is your skincare tray, it stays your skincare tray. Do not rotate it back into food use.
- Dry it fully before storing. Trapped moisture in a closed cupboard is how anything grows. Air-dry it face down on a clean cloth.
- Make small batches you will finish. Treat finished patches like fresh food, keep them covered in the fridge and use them within a few days rather than hoarding a month of gel.
And the upside nobody selling you a sachet can offer: you know every single thing going near the thinnest skin on your face, because you were the one who put it there.
The people whose homemade stuff actually turns out
Different skin, different formulas, different reasons for starting. Same tray.
Easy to unmold and the price can't be beat!

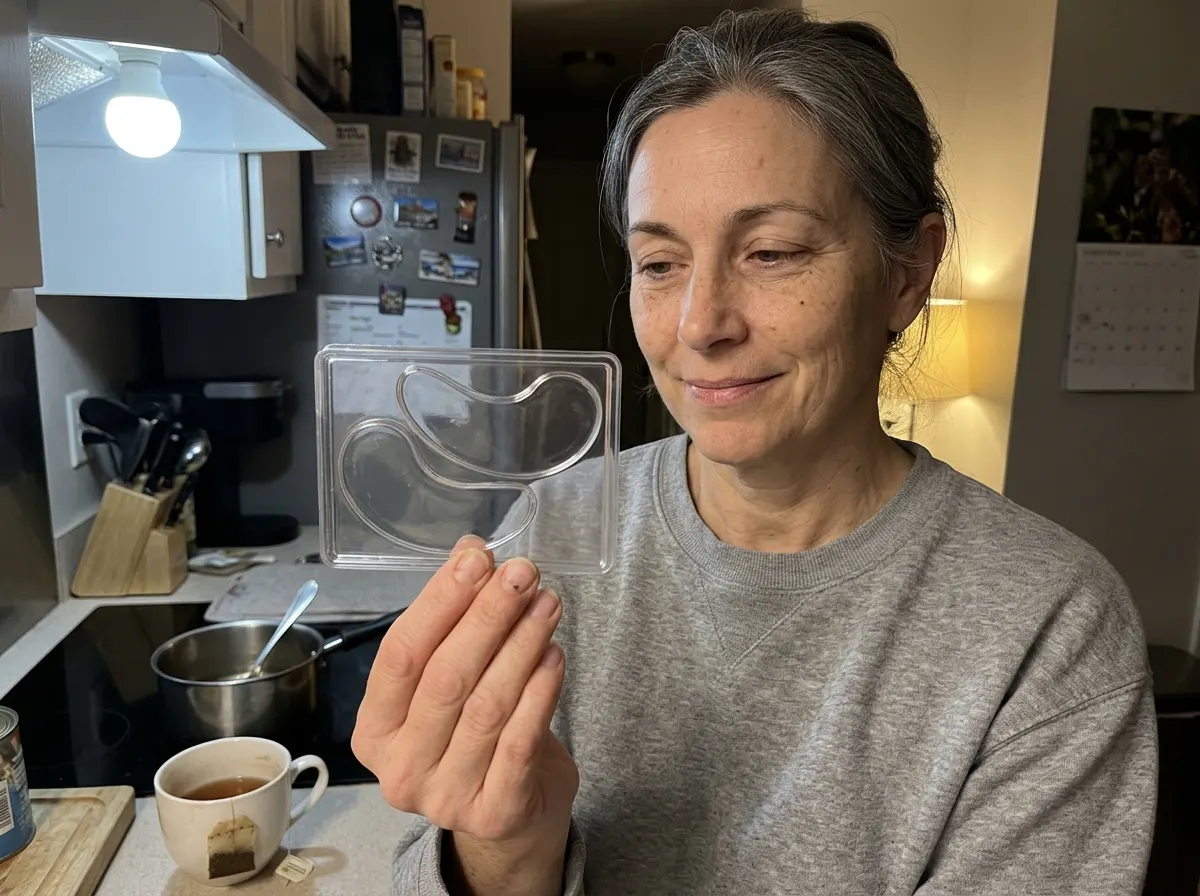
I switched because I wanted to know exactly what was going under my eyes. Aloe, a little glycerin, nothing else. Three weeks in and my skin has stopped reacting the way it did to the shop ones.

Took me a second batch to get the gel firm enough. Once I stopped rushing the fridge time it lifted out perfectly every time.

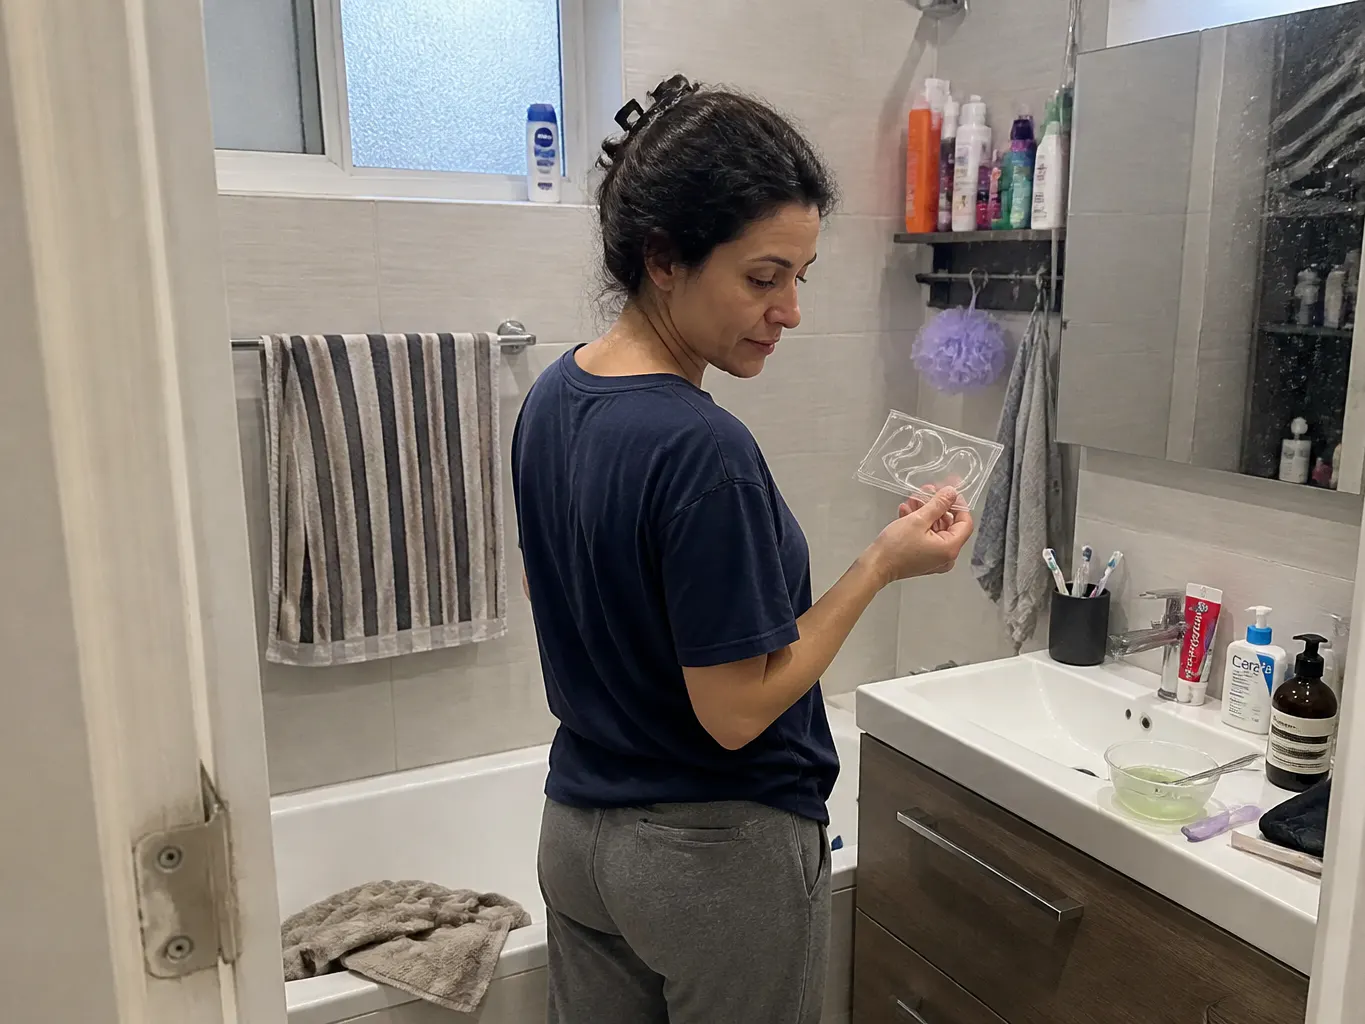
Cold brew, gelatin, done. I keep a tray going all week now.

The curve actually follows the bone under my eye instead of sitting there like a rectangle. That is the whole reason I keep using it.

Bought it half expecting it to crack. Washed it after every batch for two months and it looks the same as the day it arrived.

The questions people ask right before their first batch
Straight answers, including the ones about what can go wrong.
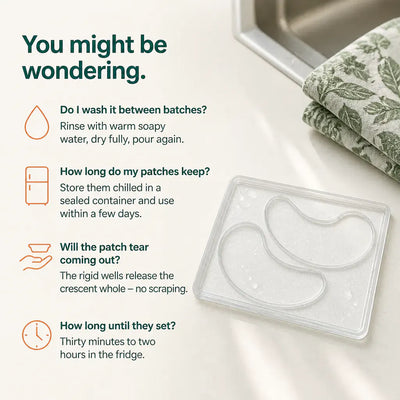
Yes, as long as it is properly set. Chill the tray flat until the gel is firm all the way through, then press gently under one tapered end and lift rather than digging at the middle. Under-set gel is the single most common cause of tearing, so give it the full thirty minutes to two hours before you go near it.
A gelling agent such as plain gelatin, plus your liquid of choice - water, cooled brewed coffee or aloe - and a small amount of glycerin to keep the finished patch supple. Warm them together until the mixture runs clear, then pour. The method card further up this page walks through it step by step.
You are the one choosing every ingredient, which is the main safety advantage over a sealed sachet. Wash the tray with warm soapy water before and after every batch, keep it for cosmetics only rather than rotating it back into food use, dry it fully before storing, and make small batches you will actually finish rather than keeping gel around for weeks.
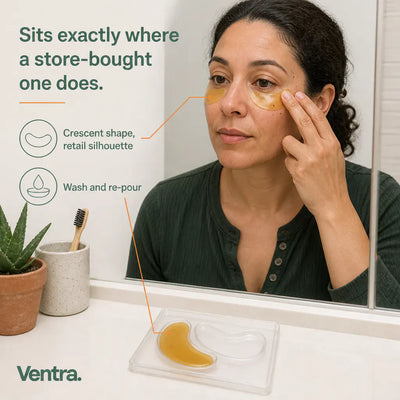
The cavity follows the standard retail under-eye curve - a kidney crescent that tapers at both ends so it sits along the bone rather than across it. It is the same silhouette as the patches sold in packs, which is exactly why a finished patch reads store-bought instead of homemade.
Treat them like fresh food rather than a shelf product. Keep finished patches covered in the fridge and use them within a few days. Because a batch takes minutes of hands-on time, most people make small amounts often rather than trying to stockpile a month of gel.
Warm soapy water, a thorough rinse, then dry it completely before it goes back in the drawer. That is the whole routine. Reusability is the thing owners of trays like this mention most, and keeping it clean and dry is what keeps it that way.
Free shipping worldwide. If it is not for you, there is a 30-day money back guarantee, and the tray is covered by a 1 year warranty.
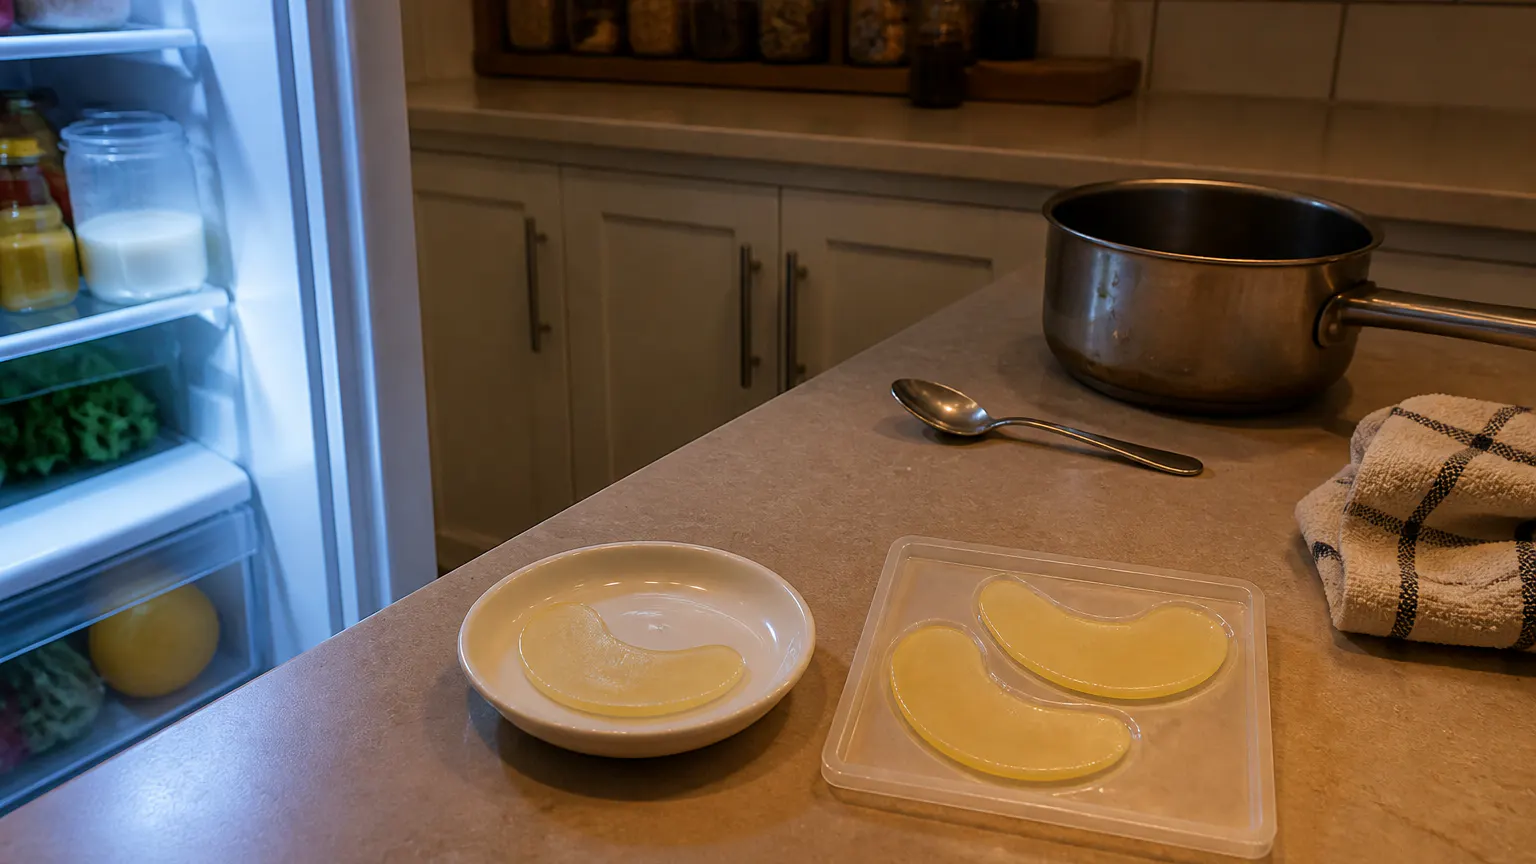
The shape was the only part you were missing. By Sunday it is sitting in your fridge.
Same counter, same three ingredients, and this time it comes out looking like the ones you used to pay for.
Make My First BatchFree shipping worldwide - 30-day money back guarantee - 1 year warranty